Monday, July 16, 2012

My New Retreat

Ever since moving into my house in March 2011, my bedroom has been the only room that I haven't really done anything to.  My priority was the girls' bedrooms and the main rooms that are seen in the house.  My room tends to be where everything gets put when I don't know what else to do with it or I don't want anyone to see it.  When I do a super quick "clean-up," things tend to get thrown in my room and the door is usually kept shut to hide the clutter.  I also have had the same bedroom furniture, which was hand-me-downs from a family friend, ever since moving out of my childhood bedroom.  Needless to say, I was WAY overdue for some new stuff!  I had been trying to decide what I wanted to do for a while now.  I have always really like the super-girly "Shabby Chic" look, but could never do that when I was married because, well, it was too girly.  Now that it is MY room, I figured I should go for it!  Pretty much my whole house is full of girly stuff so as the queen of this castle it just seems right that my bedroom should be the girliest of all! :)  My biggest problem was the lack of a very big budget to spend on my room.  I ended up finding my bed on Overstock.com for a very reasonable price.  I purchased the chest, night stands, and bench used from a friend who is moving overseas, and made all of the decor out of stuff I already had or purchased from Joann's or Hobby Lobby on sale.  I already had the bedding, which I purchased from Kohl's when I first bought my house.  Overall I am very pleased with my new retreat!  If I close the door and block out the sounds of children bickering, I can almost pretend I'm in a fancy hotel room... ALMOST. :)

My major D.I.Y. project in the room.  I wanted a place to hang necklaces to keep them from getting tangled.  I bought an unfinished shelf from Hobby Lobby for $15.  Put a coat of spray paint in "Ballet Slipper" on it, and then glued some girly scrapbook paper onto the front to give it that "Shabby Chic" feel I was going for.  Overall I'm pretty impressed with how it turned out!


So in love with my new bed!!! :)


Love this wall decal that I got from Joann's!  It's kind of hard to see, but it says "In the gentle depths of the soul, everyone deserves to feel beautiful."


Friday, June 8, 2012

A Greener Cleaner!

As I'm sure most of you know, with kids around I feel like I am CONSTANTLY reaching for a bottle of cleaner and a rag to tackle a spill, a sticky counter, or a grimy high chair tray.  I have tried to find a greener option (especially when using it on surfaces that come in contact with food), and recently decided to try Mrs. Meyers Countertop spray.  I love the scent, but don't love the price tag ($4.75 for 16 oz.), or the huge ingredient list for an "all natural" product!

Crazy long list of ingredients!!!


So, after doing some research online, I decided to make my own cleaner!  Everything I read talked about the cleaning and disinfecting properties of vinegar, but I truly HATE the smell of vinegar. :(  Then I got the idea to use fresh herbs to scent my cleaner while still keeping it all natural!

My mom and I planted a pretty awesome little herb garden this year, so I went out and picked a variety of yummy smelling herbs.  I used: sweet basil, purple basil, lemon verbena, and mint, but you can really use any combination that you like.  First, I chopped the herbs to make them easier to fit into the bottle.  Then, I added 10 oz. of white vinegar and 10 oz. of water (you can make what ever amount you want, just do equal parts water and vinegar).  Put all of the ingredients into a spray bottle (I got mine at Dollar General for $1.50), gently shake -- you can let your kiddos help with this part :), and you're done!  I have found the the smell has gotten better now that the herbs have had a little more time to mingle with the vinegar mixture.  It isn't *QUITE* as perfect smelling as Mrs. Meyers, but it is totally natural and super cheap (about $2 for 20 oz. INCLUDING the bottle!).  Can't get much better than that! :)

My little helper "shaking it up" :)


Sunday, April 22, 2012

Fluffy Goodness! {My Cloth Diapering Set-up}

A few people have asked me what my cloth diapering "set-up" is like - where I store them, what I do with dirty diapers, etc.  So I decided to do a blog post with pictures.

First, a picture of the changing area in Sophia's room.  I still prefer using a changing table because it helps me keep her "contained" a little bit better. Please excuse the messy bottom shelf.  That is the catch-all area for stuff.  On the first shelf I have 3 fabric bins from Target that hold diaper inserts.  I also have a basket of disposable diapers (yes, disposables! Sigh.  Chris still won't use the cloth diapers when they are going to his house).


This next picture shows how I store my diapers.  I am currently using a hanging organizer, but my diaper stash is starting to outgrow this area, so I may have to come up with a different system soon.  For now though, it works.  I am totally OCD about organzing and labeling (as most of you know!) so I have labeled each of the sections (Pocket Diapers, All In One Diapers, Covers/Shells, Overnight Diapers, Cloth Wipes) to make the different types of diapers easy to find.


Okay, so now that I've shown you how to store the pretty, clean diapers, let's talk about how to store the dirty ones :)  There are tons of expensive cloth diaper pail liners on the market, but I honestly don't feel that they are necessary.  What I have been using is a kitchen trashcan with a swing top (having a lid is pretty important to control odors).  I put a regular trash bag in it and then put a mesh drawstring laundry bag on top of the trash bag.  When it's time to empty the pail, I simply pull out the mesh bag and leave the trash bag.  Every couple of weeks I change the trash bag too.  Anyway, I dump the diapers into the washing machine, then throw the mesh bag in too.  Then when it's time to get the diapers out of the dryer, I can put them in the mesh bag to carry them upstairs.  Easy!  Another option that a lot of people go with is a hanging zippered wet bag.  Some of these can get REALLY pricey, but I just ordered one from a really sweet Mama who sell handmade baby items in her online store Maxille Love.  If you go with this option, you don't have to have an actual diaper pail at all.  If I had a 2 story house, I would probably go with the diaper pail option for the bedroom, and then the hanging wet bag option for the living room because it takes up less space.


That's it!  See, cloth doesn't take up that much more storage space, and is way cuter than a box of disposable diapers. :)

Tuesday, April 17, 2012

Curious About Cloth?

Okay, so this blog post may not interest some of you, but I wanted to write this for those of you who have expressed interest in cloth diapering.  With Earth Day just around the corner, what better timing to talk about going green?!? :)

My current Cloth Diaper Stash


Let's start at the beginning of my "journey" into cloth.  I started cloth diapering Emma when she was 18 months old.  However, I did not have much support from her dad, so I gave up on it within a few months.  I kicked around the idea of using cloth with Sophia, but after my seperation and buying a new house and all of the other craziness that was going on in my life around the time Sophia was born, I just went with disposables.  Fast forward about a year, and I started thinking about cloth diapering again.  Part of it is my new desire to choose more organic and earth friendly options whenever possible, and partly because I just think they are so darn cute and comfy looking! :)  I mean, think about it, would you rather where paper or cloth underwear?!?  I talked to my mom and my BFF, Nicole (a fellow cloth diapering Mama), and they encouraged me to go for it if that is what I wanted to do.  So... I went for it!

Now that you know my story, let's get into the different diapering options.  My favorite and most "user friendly" style is a pocket diaper.  I love Bumgenius 4.0 pocket diapers.  The great thing about pocket diapers is that you can add as much absorbancy as you need, so it is very customizable for you baby's needs.  Here is a picture of the inside of a pocket diaper.
Bumgenius One-Size 4.0 Pocket Diaper


While pocket diapers are my favorite, they are also quite expensive (approximately $18 each!).  The cost is still cheaper than disposables over the entire lifetime of diapering, but it can be pricey to build up your "stash."  Another diapering option,which is much more cost efficient, is using prefolds and covers.  These are the diapers that most people think of when they hear the term "cloth diapers,"  BUT, they are not even close to the old fashioned diaper pins and plastic pants!  The prefold diapers can either be fastened with something called a "Snappi", or you can simply fold the prefold into thirds and lay it into a waterproof diaper cover. 


There are other diapering options out there, but these are the ones that I use.  Hope this has helped clear up some of questions that you may have had about modern cloth diapers! :)


Thursday, April 12, 2012

Move Over Martha; There's a New Girl in Town!

Okay, so those of you that know me, know that I LOVE to organize!  It's one of the few things in life that brings me peace and a feeling of accomplishment.  When life gets crazy, you can do two things: sit down with a glass of wine and some chocolate, or ORGANIZE!  :)  And while the first option DOES sound appealing, I usually go with the second one.

Anyway, over Spring break I decided to organize some of the more commonly neglected areas of my house: the linen closet, the coat closet, and the laundry room.  I'm sort of embarassed to admit how bad these 3 areas had gotten...  I guess this is where I will pull the "single, working mom" card so you all have sympathy for me instead of thinking I'm a slob. ;)  Honestly though, it is almost impossible to find the time and energy to take on large-scale projects in the evenings when my little "helpers" are around.  So, I sent them to spend time with their dad this week and I got stuff done.  I took before and after pictures because I wanted to remind myself how BAD the areas were to begin with so that I never let them get in that shape again.

First project was the linen closet, which really doesn't hold "linens" (unless you count the girls' bath towels), but a menagerie of other things...  I guess the pictures will do a better job of explaining.  The first picture is (obviously) the "before," and the other pictures are the "after."  I purchased baskets from the dollar store to organize all of the stuff, and then labeled them to make them more user friendly.  I figured this would also be helpful for babysitters or guests to find what they need.


My second project was the hall "coat" closet (although it has never had a single coat in it since we moved in!).  This closet was pretty much the "throw things in and slam the door" closet.  It was never useful at all.  NOW, however, I find myself opening the door just to gaze at its loveliness! ;)  I used more of my handy little baskets in this closet to organize "hair stuff" (I usually do the girls' hair in the living room before we go out for the day), "household stuff", and "dusting and mopping" supplies.  I also splurged a little on this awesome wire cubby thing at Target.  Now we each have a place for our school bags, diaper bag, purse, etc., and the bottom compartments house my reusable shopping bags.


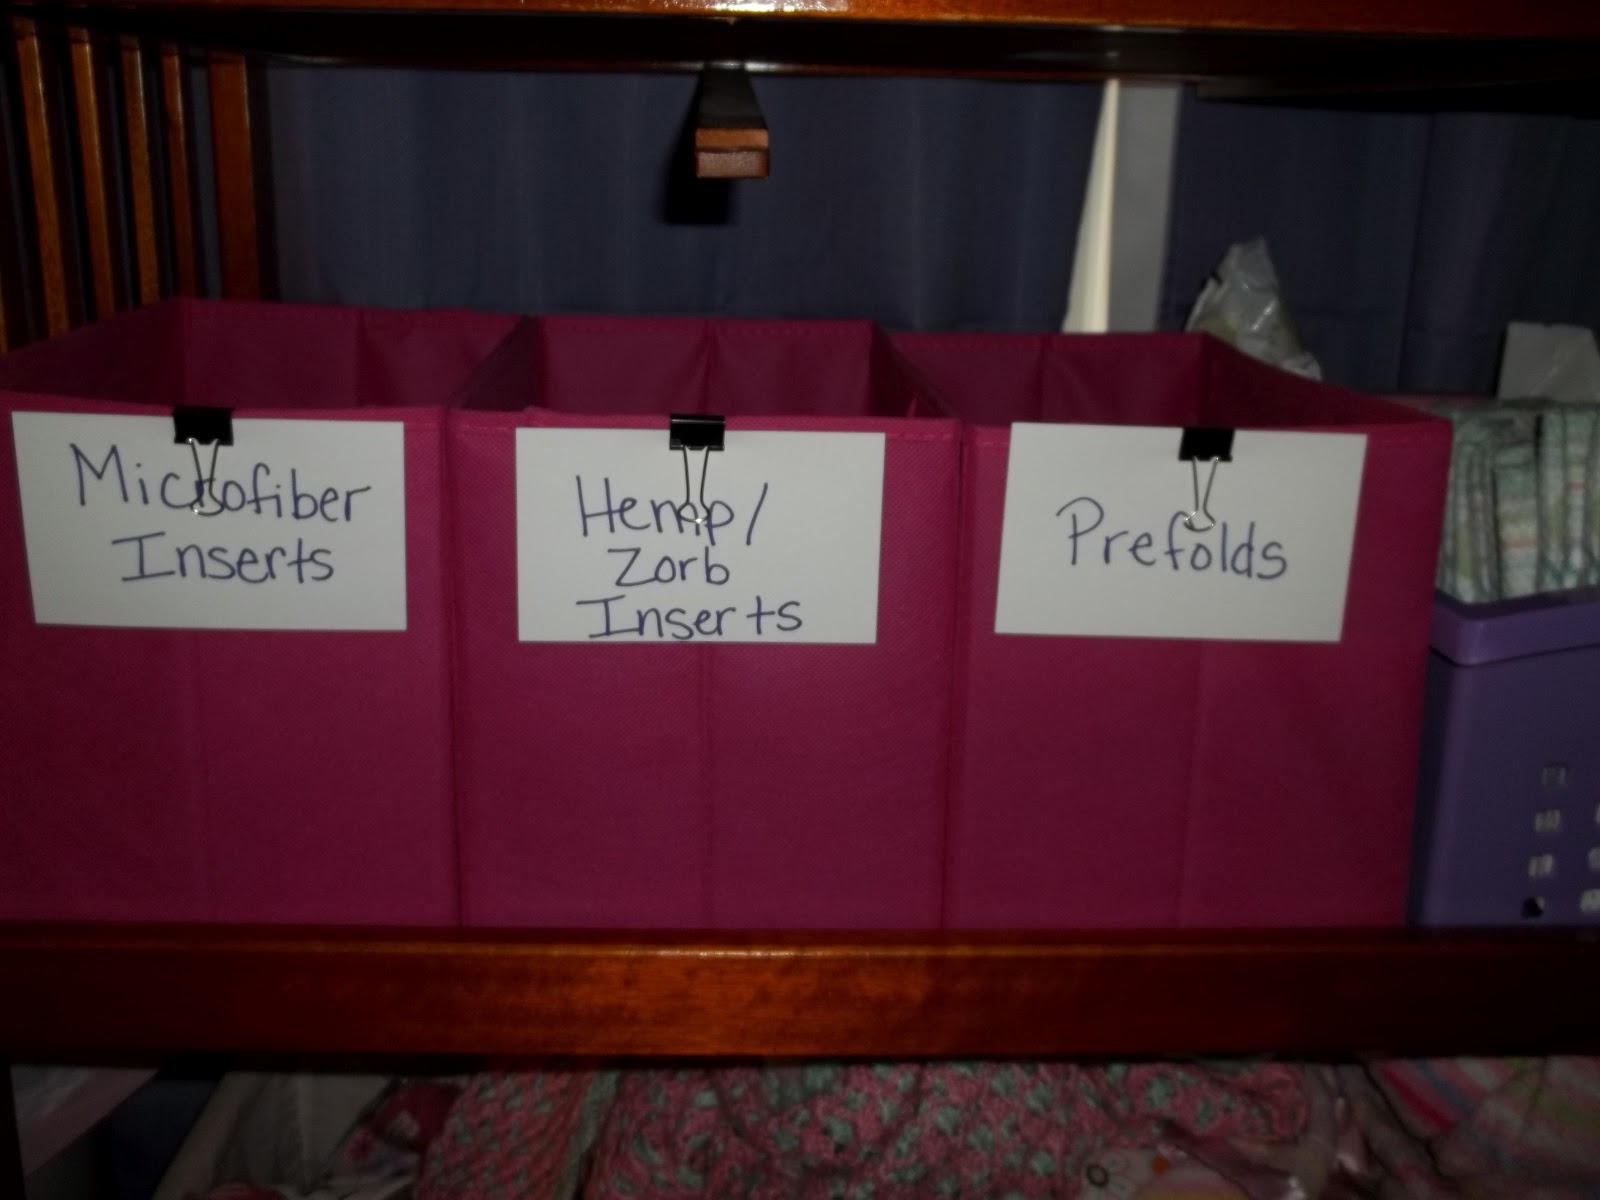
The third (and most difficult!) area that I organized was the laundry room.  With 2 littles girls (one of whom wears cloth diapers), I spend a great deal of time in the laundry room, so I have no idea why I had let it get in such bad shape.  It was depressing and down righ hazardous to walk in before.  Now I think I could meditate in there (or at least hide out from the kids!  Hee hee.) 

Anyway, I started off by taking everything out of the room and cleaning the floors, then I did a lot of tossing out junk that had accumulated.  I also splurged for this room on a new utility table to use as a clothes folding table.  Yay! :)  I also got a shoe rack to contain the pile of shoes that get kicked off by the garage door.  I even decided to hang up some artwork to make the room more inviting, and I hung up pictures of my loves over the folding table. :)


My "mini" project of the week was organizing my kitchen junk drawer.  I used more of those little baskets and some fun contact paper to make it pretty. :)


Hope you enjoyed seeing all of my hard work!  I think I've inspired Sophia to start organizing cabinets! ;)


Thursday, March 8, 2012

Happy {Belated} Birthday Sophia!

Okay, so being the blog slacker that I am, I am just now (11 day after the fact) blogging about Sophia's first birthday party.  We all ended up with a horrible stomach bug the week after, so that will be my excuse. :) 

Anyway, I decided to do a Very Hungry Caterpillar themed party after finding some adorable ideas on Pinterest.  I have always loved Eric Carle books (our entire playroom is decorated in Carle themed stuff), so it seemed like the perfect theme.

Food: I held the party during lunch time, so we had a fruit tray, veggies and dip, pigs in a blanket, peperoni rolls, chips, and, of course, CAKE!  I couldn't find any local bakeries that had Very Hungry Caterpillar themed cakes, so I was going to just do basic cupcakes, but a co-worker of mine, Stefanie, offered to do the cakes for me and she did a fabulous job!!!  She made a small "smash cake" and then a 2 tiered guest cake.


Decor: I kept the decor pretty simple.  I used copies of The Very Hungry Caterpillar book, and stuffed caterpillars to decorate the table and counter.  I also bought a "Happy Birthday" banner, table cloth, and paper lanterns from Hobby Lobby in the VHC color scheme.  Emma and Sophia's dresses were also part of the decor.  I ordered VHC fabric and had dresses custom-made for them by a family friend. 

Overall, the party was a great success!